Leaking Washer Valves: When the Box Must Be Replaced
Leaking washer shutoff valves often mean the whole laundry box needs replacement. Learn when that’s the case and what to check before new flooring goes in.
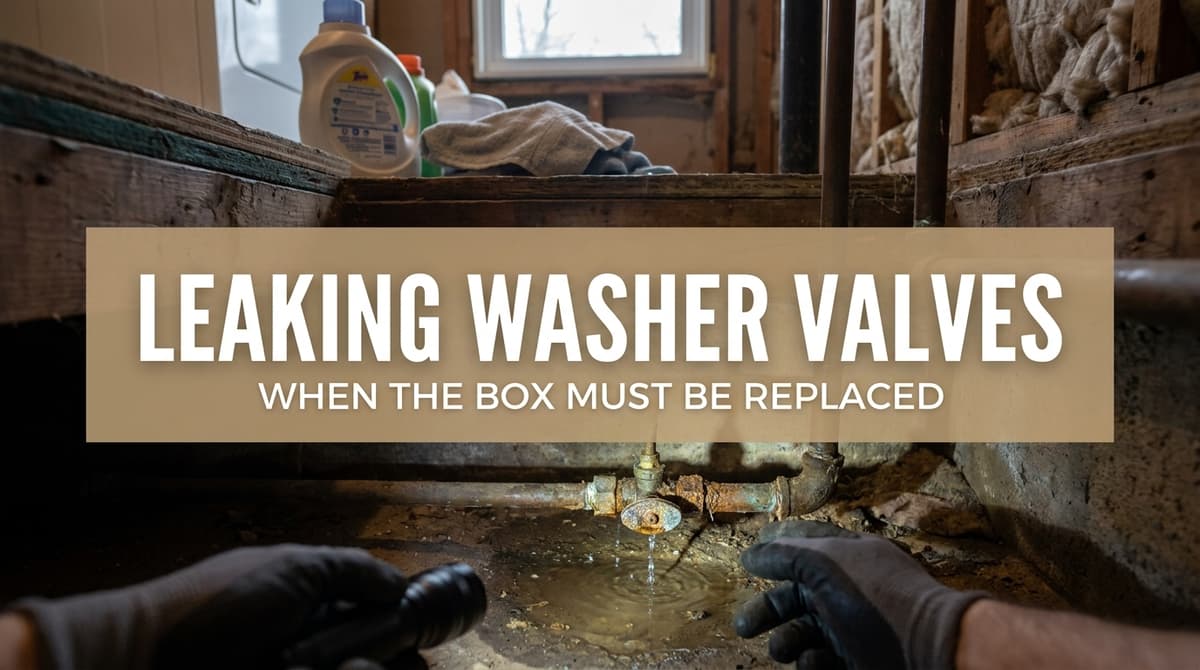
When Leaking Washer Valves Mean the Whole Box Has to Go
We recently got a call from a homeowner — let’s call him Tom — who had just put in beautiful new flooring in his laundry room. The installers had moved his washer and dryer, and one of the guys noticed something Tom hadn’t thought about in years: the washer shutoff valves inside the recessed laundry box felt damp and worn out.
Tom told us, “The flooring guys said those little turnoff knobs behind the washer and dryer are wet and should be replaced right away.” He was hoping we could just swap out the two valves and be done, especially with a pile of laundry waiting and brand-new floors on the line.
As we started asking questions — is it a plastic recessed box, do the valves come up through the box, what do the handles look like — we had a good idea where this was going. We see this exact situation a lot: leaking washer shutoff valves that actually mean the entire laundry box needs replacement, especially in older homes or before/after new flooring goes in.
Those “Little Knobs” Are Often Part of a Proprietary Box
When Tom described brass valves with red wheel handles inside a white plastic recessed box, we knew we were probably dealing with a proprietary laundry box assembly. That’s plumber-speak for: the valves and the box are designed as one unit, not as separate replaceable parts.
In many homes, especially older builds, the valves are factory-mounted into the box. They’re not standard hose bibs you can simply unscrew and replace. So while it sounds simple — “just replace both knobs” — the reality is often that the whole box has to come out to do the job correctly and safely.
We had to tell Tom what many homeowners don’t expect to hear: “There’s a good chance we’ll need to replace the entire laundry box, not just the valves.” It’s not the most fun news, especially right after new flooring goes in, but it’s better than finding water damage under that new floor six months later.
When a Laundry Box Really Needs Replacement
Based on what we see in the field, here are the most common reasons we recommend replacing the whole box instead of trying to patch it up:
- Proprietary valves: The valves are built into the box and not designed to be individually replaced.
- Cracked or brittle plastic: The box itself is aging, cracking, or flexing — a repair today can cause a failure tomorrow.
- Corroded or seized valves: If the handles are hard to turn or don’t shut off fully, they’re at the end of their life.
- Signs of past leaks: Staining, rust, or water damage around the box or on the wall behind it.
- Code or safety upgrades: Older boxes may not have proper hammer arrestors or modern shutoff styles.
When we walk into a laundry room like Tom’s, we’re looking at the whole picture — not just the visible drip, but the age of the box, how the lines are connected in the wall, and what kind of access we have without damaging finished surfaces.
Our Typical Process for Replacing a Washer Box
Every house is different, but this is the process we typically follow on our jobs when a laundry box needs replacement:
- Inspect and diagnose. We confirm where the moisture is coming from, how the box is constructed, and whether the valves are integral or replaceable.
- Explain options and timing. We talk with the homeowner about costs, access (from the laundry room side or the back side of the wall), and any impact on finishes like drywall or tile.
- Shut off water and remove the old box. We safely shut down the water, disconnect supply lines, and carefully cut out the old box.
- Install a new, high-quality box. We install a new recessed box with modern quarter-turn valves and secure, code-compliant connections.
- Test thoroughly. We pressurize the lines, check for leaks, and make sure both hot and cold shut off smoothly.
- Clean up and advise. We tidy the work area and walk the homeowner through how to operate and maintain the new valves.
With Tom, we also had to talk through scheduling, because he wanted laundry running that same night. We explained our regular vs. after-hours/emergency rates so he could make an informed decision about whether to wait until the next morning or have us out right away.
Planning New Flooring? Check the Laundry Box First
Tom’s situation is something we wish we could catch before the new floor goes in. When you’re planning new flooring in a laundry area, it’s the perfect time to take a hard look at the washer box and valves. We often recommend homeowners:
- Pull the washer out in advance and look for any signs of moisture, rust, or staining around the box.
- Gently operate the valves — if they’re stiff, squeaky, or don’t fully stop water, that’s a red flag.
- Ask your plumber to inspect the box before the flooring crew starts, especially in older homes.
- Consider proactive replacement if the box is original to the house and more than 15–20 years old.
Replacing a box when walls and flooring are already being worked on is usually simpler and less disruptive than coming back later to open finished walls or risk damage to brand-new floors.
DIY vs. Calling a Pro for a Leaking Washer Box
We get asked sometimes, “Can’t I just do this myself?” For very handy homeowners, small plumbing tasks can be manageable, but with laundry boxes there are a few things to keep in mind:
- Hidden connections: The critical joints are often behind the wall. A mistake can lead to slow, hidden leaks.
- Type of piping: Copper, PEX, CPVC, and galvanized all require different tools and techniques.
- Shutoff and drain considerations: A washer box also houses the drain standpipe — damaging or misaligning it can cause backups and overflows.
- Code and insurance: Improper work inside walls can cause problems with code compliance and insurance claims if there’s ever water damage.
Our general advice: shutting off water and swapping washer hoses is a fair DIY project. Once you’re opening walls and altering permanent plumbing, that’s usually where bringing in a licensed plumber protects your home and your new finishes.
Key Takeaways for Homeowners with Leaking Washer Valves
When Tom called us, he thought he just needed “both knobs replaced.” After we asked a few questions and talked through his setup, we explained why the entire box might need replacement and how we’d approach it. That conversation is one we have with a lot of homeowners, so here are the big points we like to leave people with:
- If your valves are part of a recessed box, they may not be individually replaceable.
- A slow leak at the washer box can quietly damage walls and floors over time.
- It’s smart to inspect and address the box before new flooring is installed.
- Replacing the entire box with modern, quarter-turn valves is often the safest long-term fix.
- If you’re unsure, send a plumber photos before scheduling so we can advise on urgency and options.
If you’re staring at a damp laundry box, thinking about new flooring, or fighting stiff old shutoff valves, we’re always happy to talk through what you’re seeing, look at a few pictures, and help you decide whether it’s time for a full washer box upgrade.